
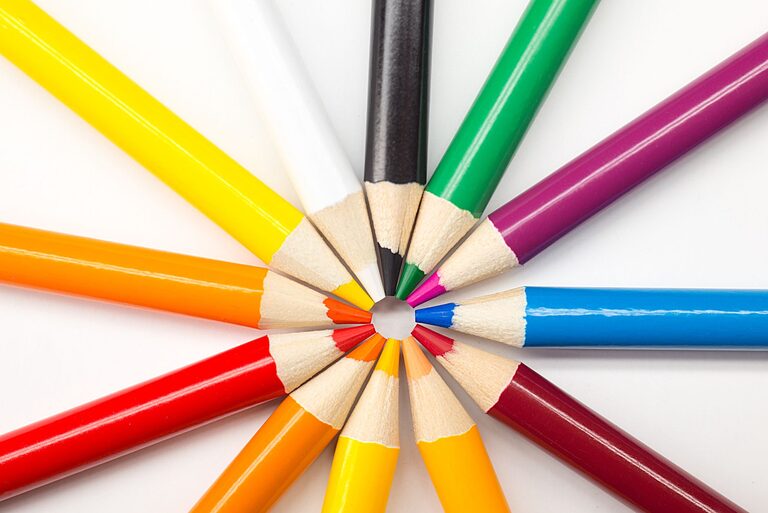
Bringing home your child’s latest artwork can be a joyful experience. From colorful drawings to imaginative crafts, these creations showcase your child’s creativity and growth. However, as the art collection grows, it can quickly become overwhelming and cluttered. Organizing kids’ art not only helps preserve these precious memories but also keeps your home tidy and stress-free.
In this post, we’ll share practical tips and creative ideas to help you organize your kids’ art in a way that works for your family.
Why Organizing Kids’ Art Matters
Before diving into tips, it’s helpful to understand the benefits of keeping kids’ artwork organized:
– Creates a sense of pride: Displaying or storing art thoughtfully shows your child that their work is valued.
– Reduces clutter: Managing the influx of art prevents piles of paper and crafts from taking over your living space.
– Makes memories accessible: Organized art is easier to look back on and share with family.
– Encourages creativity: A designated space for art encourages kids to create more.
Step 1: Choose a Storage Method That Fits Your Space
Every home has different space constraints, so select a storage solution that fits your lifestyle:
Art Bins or Boxes
Large plastic bins or decorative storage boxes are a simple way to keep artwork safe. Choose a size that can hold numerous pieces without crushing them. Label the bins by child or by year for easy sorting.
Portfolios or Art Folders
Flat portfolios, like those used for artists, keep drawings and paintings neat and flat. These often have handles and zippers for portability.
Filing Cabinets or Accordion Folders
For smaller artworks or papers, a filing cabinet with folders labeled by date or theme is helpful. Accordion folders also work well for sorting by month or project.
Step 2: Sort Regularly and Decide What to Keep
Kids often create more art than you can realistically keep. Sorting regularly helps manage the collection and keeps it meaningful.
– Set a schedule: Sort art monthly or seasonally with your child.
– Keep favorites: Select the most special or impressive pieces to save.
– Photograph extras: Take pictures of art you want to remember but don’t have room to store.
– Recycle thoughtfully: Teach your child it’s okay to let go of some creations after photographing.
Step 3: Display Art Creatively
Showing your child’s artwork around the home celebrates their creativity and adds a personal touch.
Gallery Wall
Designate a wall or hallway space where you can swap out artwork regularly using frames, clipboards, or wire with clips.
Digital Displays
Use digital photo frames to showcase scanned or photographed art. This saves physical space and allows you to cycle through many pieces.
Art Books
Compile scanned images or photos of artwork into printed photo books. These become beautiful keepsakes and gifts.
Step 4: Involve Your Child in the Process
Encourage kids to participate in organizing their art:
– Let them help decide which pieces to keep or display.
– Give them a box or folder to manage their favorite creations.
– Encourage labeling artwork with dates and titles to add meaning.
This involvement helps teach responsibility and pride in their work.
Step 5: Use Art for Practical Projects
Another way to appreciate and reduce stacks of artwork is repurposing pieces into helpful items:
– Greeting cards: Cut and fold drawings for homemade cards.
– Gift wrap: Use larger paintings as unique wrapping paper.
– Collages: Combine scraps into new art projects.
– Calendars: Create personalized calendars with various artworks.
Step 6: Maintain a Dedicated Art Space
Keeping art supplies and completed projects together helps contain mess and supports creativity:
– Set up a small corner or table for drawing and crafting.
– Provide organizers for crayons, markers, and papers.
– Use shelving or cubbies to store finished pieces and in-progress work.
Final Thoughts
Keeping your kids’ art organized is a wonderful way to cherish their creativity while keeping your home orderly. By selecting suitable storage solutions, regularly sorting, displaying their work proudly, and involving your child, you create a system that honors their artistic journey.
Remember, the goal isn’t to save every single piece but to preserve the moments and skills behind the art. With these tips, you can enjoy a clutter-free home filled with colorful memories that celebrate your child’s imagination.
